
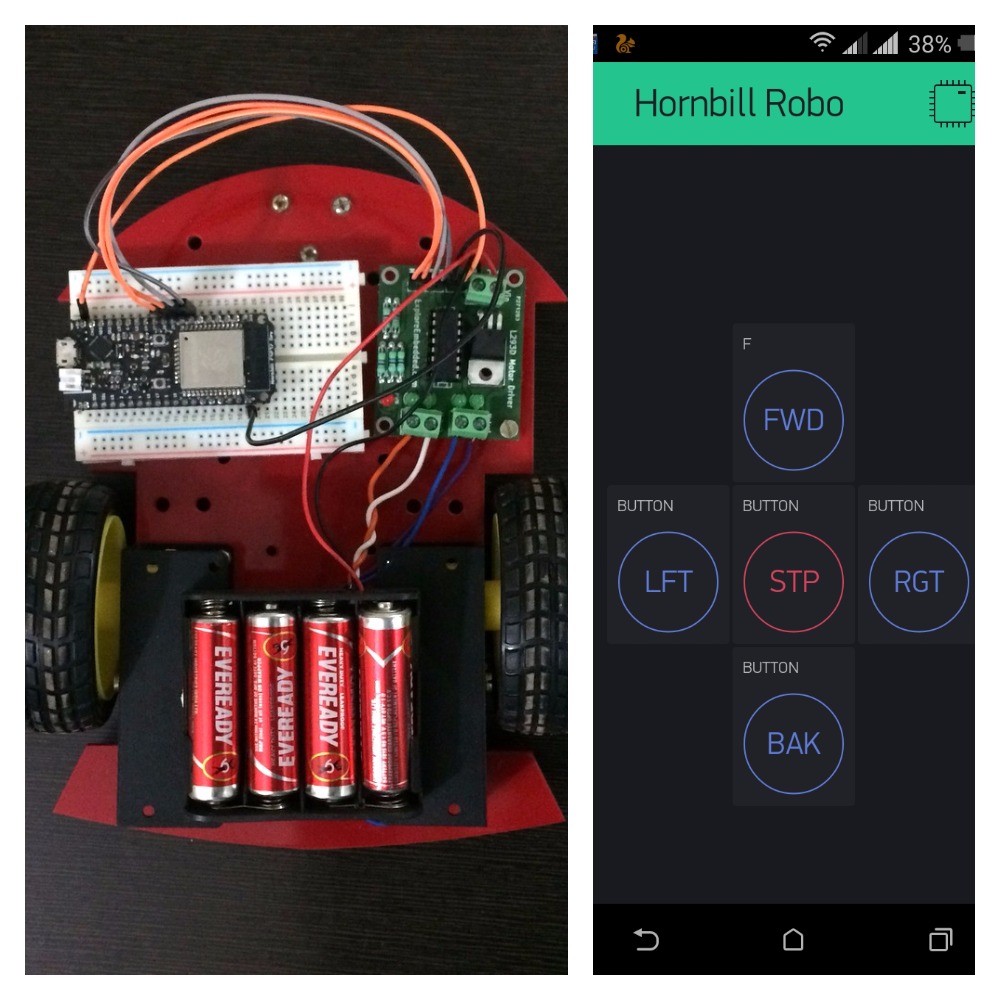
Robo with Hornbill ESP32
We took a little break to build this two wheel drive (TWD) robot steered with the Blynk App. It was simple enough for a noon project. ESP32 is not just a WiFi or Bluetooth adapter, it was a capable enough processor. We use it to build a WiFi controlled Robot.

Schematic

Wiring Digram

Assembly Instructions
Follow this tutorial for assembling Robot.
Code
| /* | |
| * | |
| * Blynk app controlled Robot with Horbill ESP32. | |
| * For more details visit: | |
| * https://exploreembedded.com/wiki/Robo_with_Hornbill_ESP32 | |
| * | |
| * | |
| */ | |
| #define BLYNK_PRINT Serial // Comment this out to disable prints and save space | |
| #include <WiFi.h> | |
| #include <WiFiClient.h> | |
| #include <BlynkSimpleEsp32.h> | |
| //pins to drive motors | |
| int MotorLeft[2] = {32,33}; | |
| int MotorRight[2] = {25,26}; | |
| // You should get Auth Token in the Blynk App. | |
| // Go to the Project Settings (nut icon). | |
| char auth[] = "blynk_key"; | |
| // Your WiFi credentials. | |
| // Set password to "" for open networks. | |
| char ssid[] = "wifi_SSID"; | |
| char pass[] = "wifi_password"; | |
| void setup() | |
| { | |
| Serial.begin(9600); | |
| Blynk.begin(auth, ssid, pass); | |
| MotorInit(); | |
| //Serial.print("*Explore Robo Mode Computer: Controlled*\n\r"); | |
| //Serial.println("Commands:\n W->Forward \n S->Backwards \n A->Left \n D->Right"); | |
| } | |
| void loop() | |
| { | |
| Blynk.run(); | |
| } | |
| //Intialize the motor | |
| void MotorInit() | |
| { | |
| int i; | |
| for(i=0 ; i<2; i++) | |
| { | |
| pinMode(MotorLeft[i],OUTPUT); | |
| pinMode(MotorRight[i],OUTPUT); | |
| } | |
| } | |
| //Robot Driving Functions | |
| void Robot_Forward() | |
| { | |
| digitalWrite(MotorLeft[0],0); | |
| digitalWrite(MotorLeft[1],1); | |
| digitalWrite(MotorRight[0],1); | |
| digitalWrite(MotorRight[1],0); | |
| } | |
| void Robot_Backward() | |
| { | |
| digitalWrite(MotorLeft[0],1); | |
| digitalWrite(MotorLeft[1],0); | |
| digitalWrite(MotorRight[0],0); | |
| digitalWrite(MotorRight[1],1); | |
| } | |
| void Robot_Left() | |
| { | |
| digitalWrite(MotorLeft[0],1); | |
| digitalWrite(MotorLeft[1],0); | |
| digitalWrite(MotorRight[0],1); | |
| digitalWrite(MotorRight[1],0); | |
| } | |
| void Robot_Right() | |
| { | |
| digitalWrite(MotorLeft[0],0); | |
| digitalWrite(MotorLeft[1],1); | |
| digitalWrite(MotorRight[0],0); | |
| digitalWrite(MotorRight[1],1); | |
| } | |
| void Robot_Stop() | |
| { | |
| digitalWrite(MotorLeft[0],0); | |
| digitalWrite(MotorLeft[1],0); | |
| digitalWrite(MotorRight[0],0); | |
| digitalWrite(MotorRight[1],0); | |
| } | |
| BLYNK_WRITE(V1) | |
| { | |
| int value = param.asInt(); // Get value as integer | |
| // Serial.println("Going Forward"); | |
| if(value) | |
| { | |
| Robot_Forward(); | |
| } | |
| } | |
| BLYNK_WRITE(V2) | |
| { | |
| int value = param.asInt(); // Get value as integer | |
| //Serial.println("Moving Right"); | |
| if(value) | |
| { | |
| Robot_Right(); | |
| delay(200); | |
| Robot_Stop(); | |
| } | |
| } | |
| BLYNK_WRITE(V3) | |
| { | |
| int value = param.asInt(); // Get value as integer | |
| // Serial.println("Going back"); | |
| if(value) | |
| { | |
| Robot_Backward(); | |
| } | |
| } | |
| BLYNK_WRITE(V4) | |
| { | |
| int value = param.asInt(); // Get value as integer | |
| //Serial.println("Taking Left"); | |
| if(value) | |
| { | |
| Robot_Left(); | |
| delay(200); | |
| Robot_Stop(); | |
| } | |
| } | |
| BLYNK_WRITE(V5) | |
| { | |
| int value = param.asInt(); // Get value as integer | |
| // Serial.println("Braking!!"); | |
| if(value) | |
| { | |
| Robot_Stop(); | |
| } | |
| } |
Demo
Overview of ESP32 features. What do they practically mean?
You should have heard enough about the new Chip! From the specifications looks like, this is THE chip of the future, for anything connected that you want to build. Instead of using a microcontroller...
Arduino Setup for ESP32
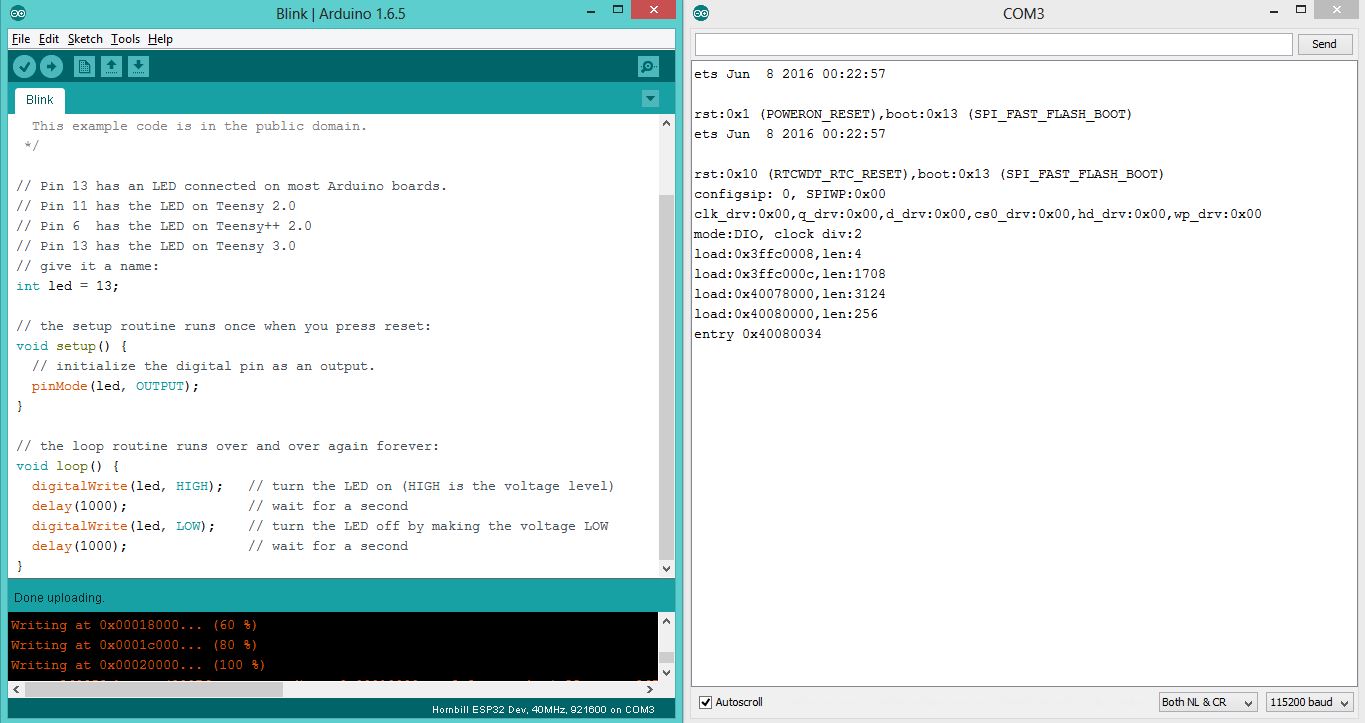
After the brief overview of Esp32, its time to setup the arduino for ESP32 and run some sample examples. This will install support Horbill ESP32 Dev, Hornbill ESP32 Minima and other ESP32 boards as...
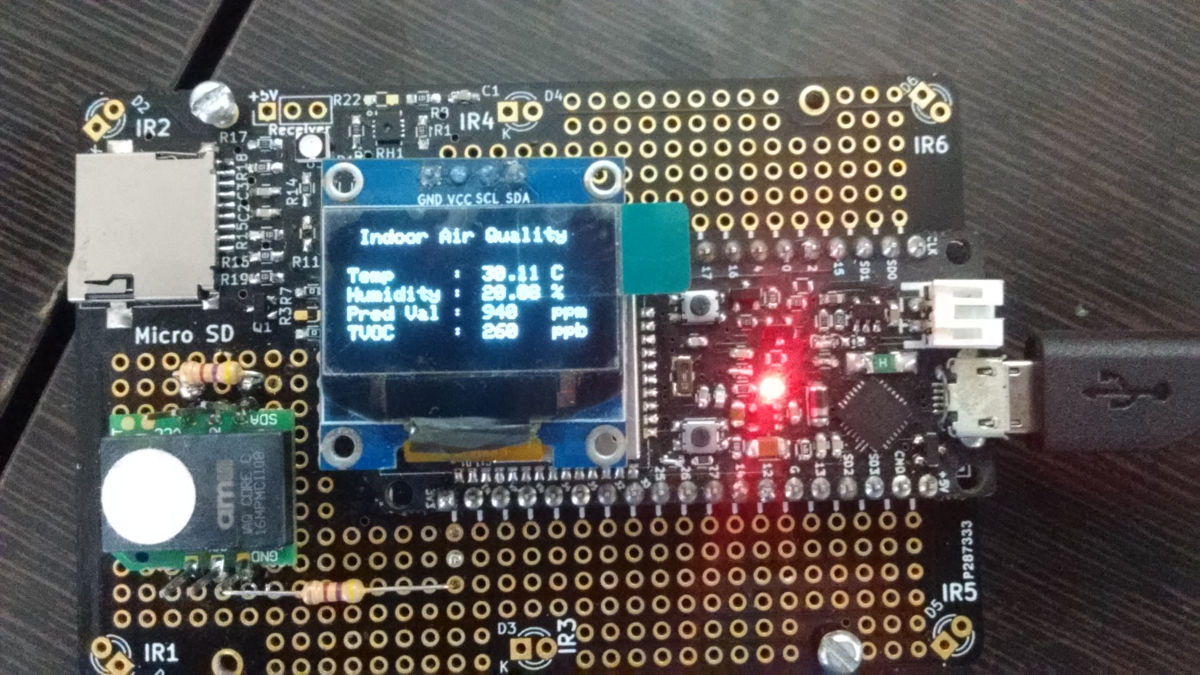
Building a reliable and rugged Air Quality Logger with Hornbill ESP32 PART-1
In this multi part series, I will be taking you through building, breaking and re-making of a rugged (dust and water proof) and reliable (firmware, power, and connectivity) with Hornbill series of ESP32...
Robo with Hornbill ESP32
We took a little break to build this two wheel drive (TWD) robot steered with the Blynk App. It was simple enough for a noon project. ESP32 is not just a WiFi or Bluetooth adapter, it was a capable...