
Interfacing Seven Segment Display with Atmega128 Breakout
After blinking the LED , Let's display user information like numeric value using seven segment display. In this tutorial we will interface a seven segment display to Atmega128 breakout board and display a single digit hex (0-F).
Contents
[hide]Basics
For this tutorial we are using common anode seven segment display. To drive this display we require a BC 547 transistor. The PORT B is connected to data lines of the display and PORT D0 is connacted to base of the transistor through 1k ohm resistor and collector is connected to VCC through 68 ohm resistor as shown in hook up.
check out Interfacing Seven Segment Displays with AVR tutorial for basics of seven segment display.
Hook Up

Code
| #include <avr/io.h> | |
| #include <util/delay.h> | |
| #define Segment PD0 | |
| int main() { | |
| char seg_code[]={0xc0,0xf9,0xa4,0xb0,0x99,0x92,0x82,0xf8,0x80,0x90,0x88,0x83,0xc6,0xa1,0x86,0x8e}; | |
| int cnt; | |
| /* Configure the ports as output */ | |
| DDRB = 0xff; // Data | |
| //DDRD |= (1 << Segment ); // Control signal PORTD0 | |
| DDRD = (1 << Segment); | |
| while (1) | |
| { | |
| for (cnt = 0x00; cnt < 0x0f; cnt++) // loop to display 0-F | |
| { | |
| PORTD = ( 1<< Segment); | |
| PORTB = seg_code[cnt]; | |
| _delay_ms(1000); | |
| } | |
| } | |
| } |
Demo

Video Tutorial
For those of you, who would like to watch instead of read we have made a video with all the gyan.
Downloads
Download the complete project folder from the below link:
https://github.com/ExploreEmbedded/ATMega-128-Break-Out-BoardDVB-12007/archive/master.zip
Have a opinion, suggestion , question or feedback about the article let it out here!
Restoring ATmega128 Bootloader
There are lot of weird things about ATmega128, that I will be covering in this tutorial. The end goal is to set it up properly so that it will be useful and save you some time eventually. If...
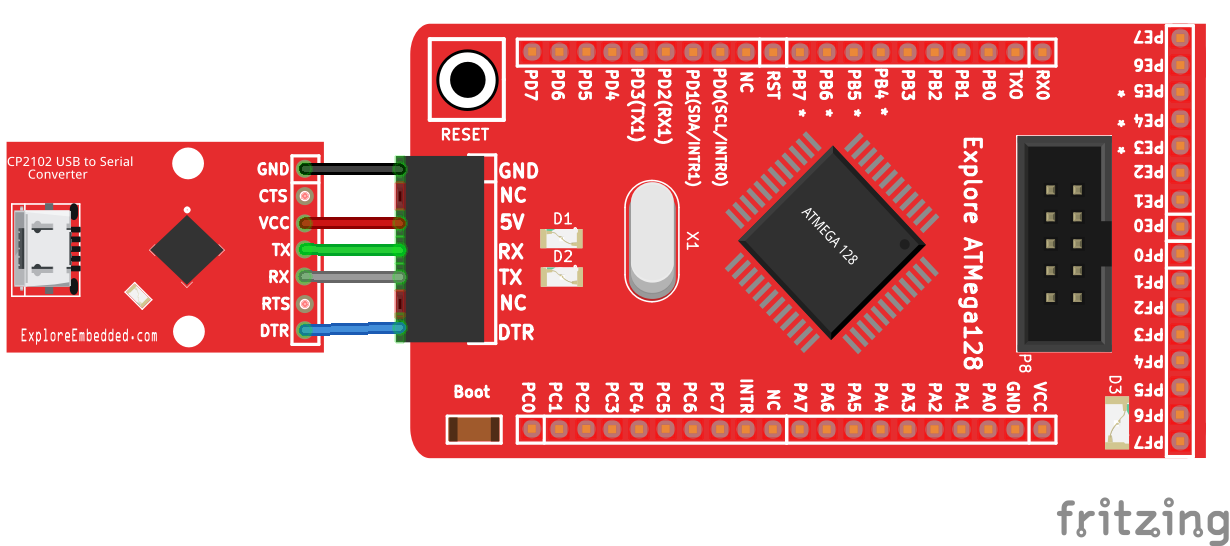
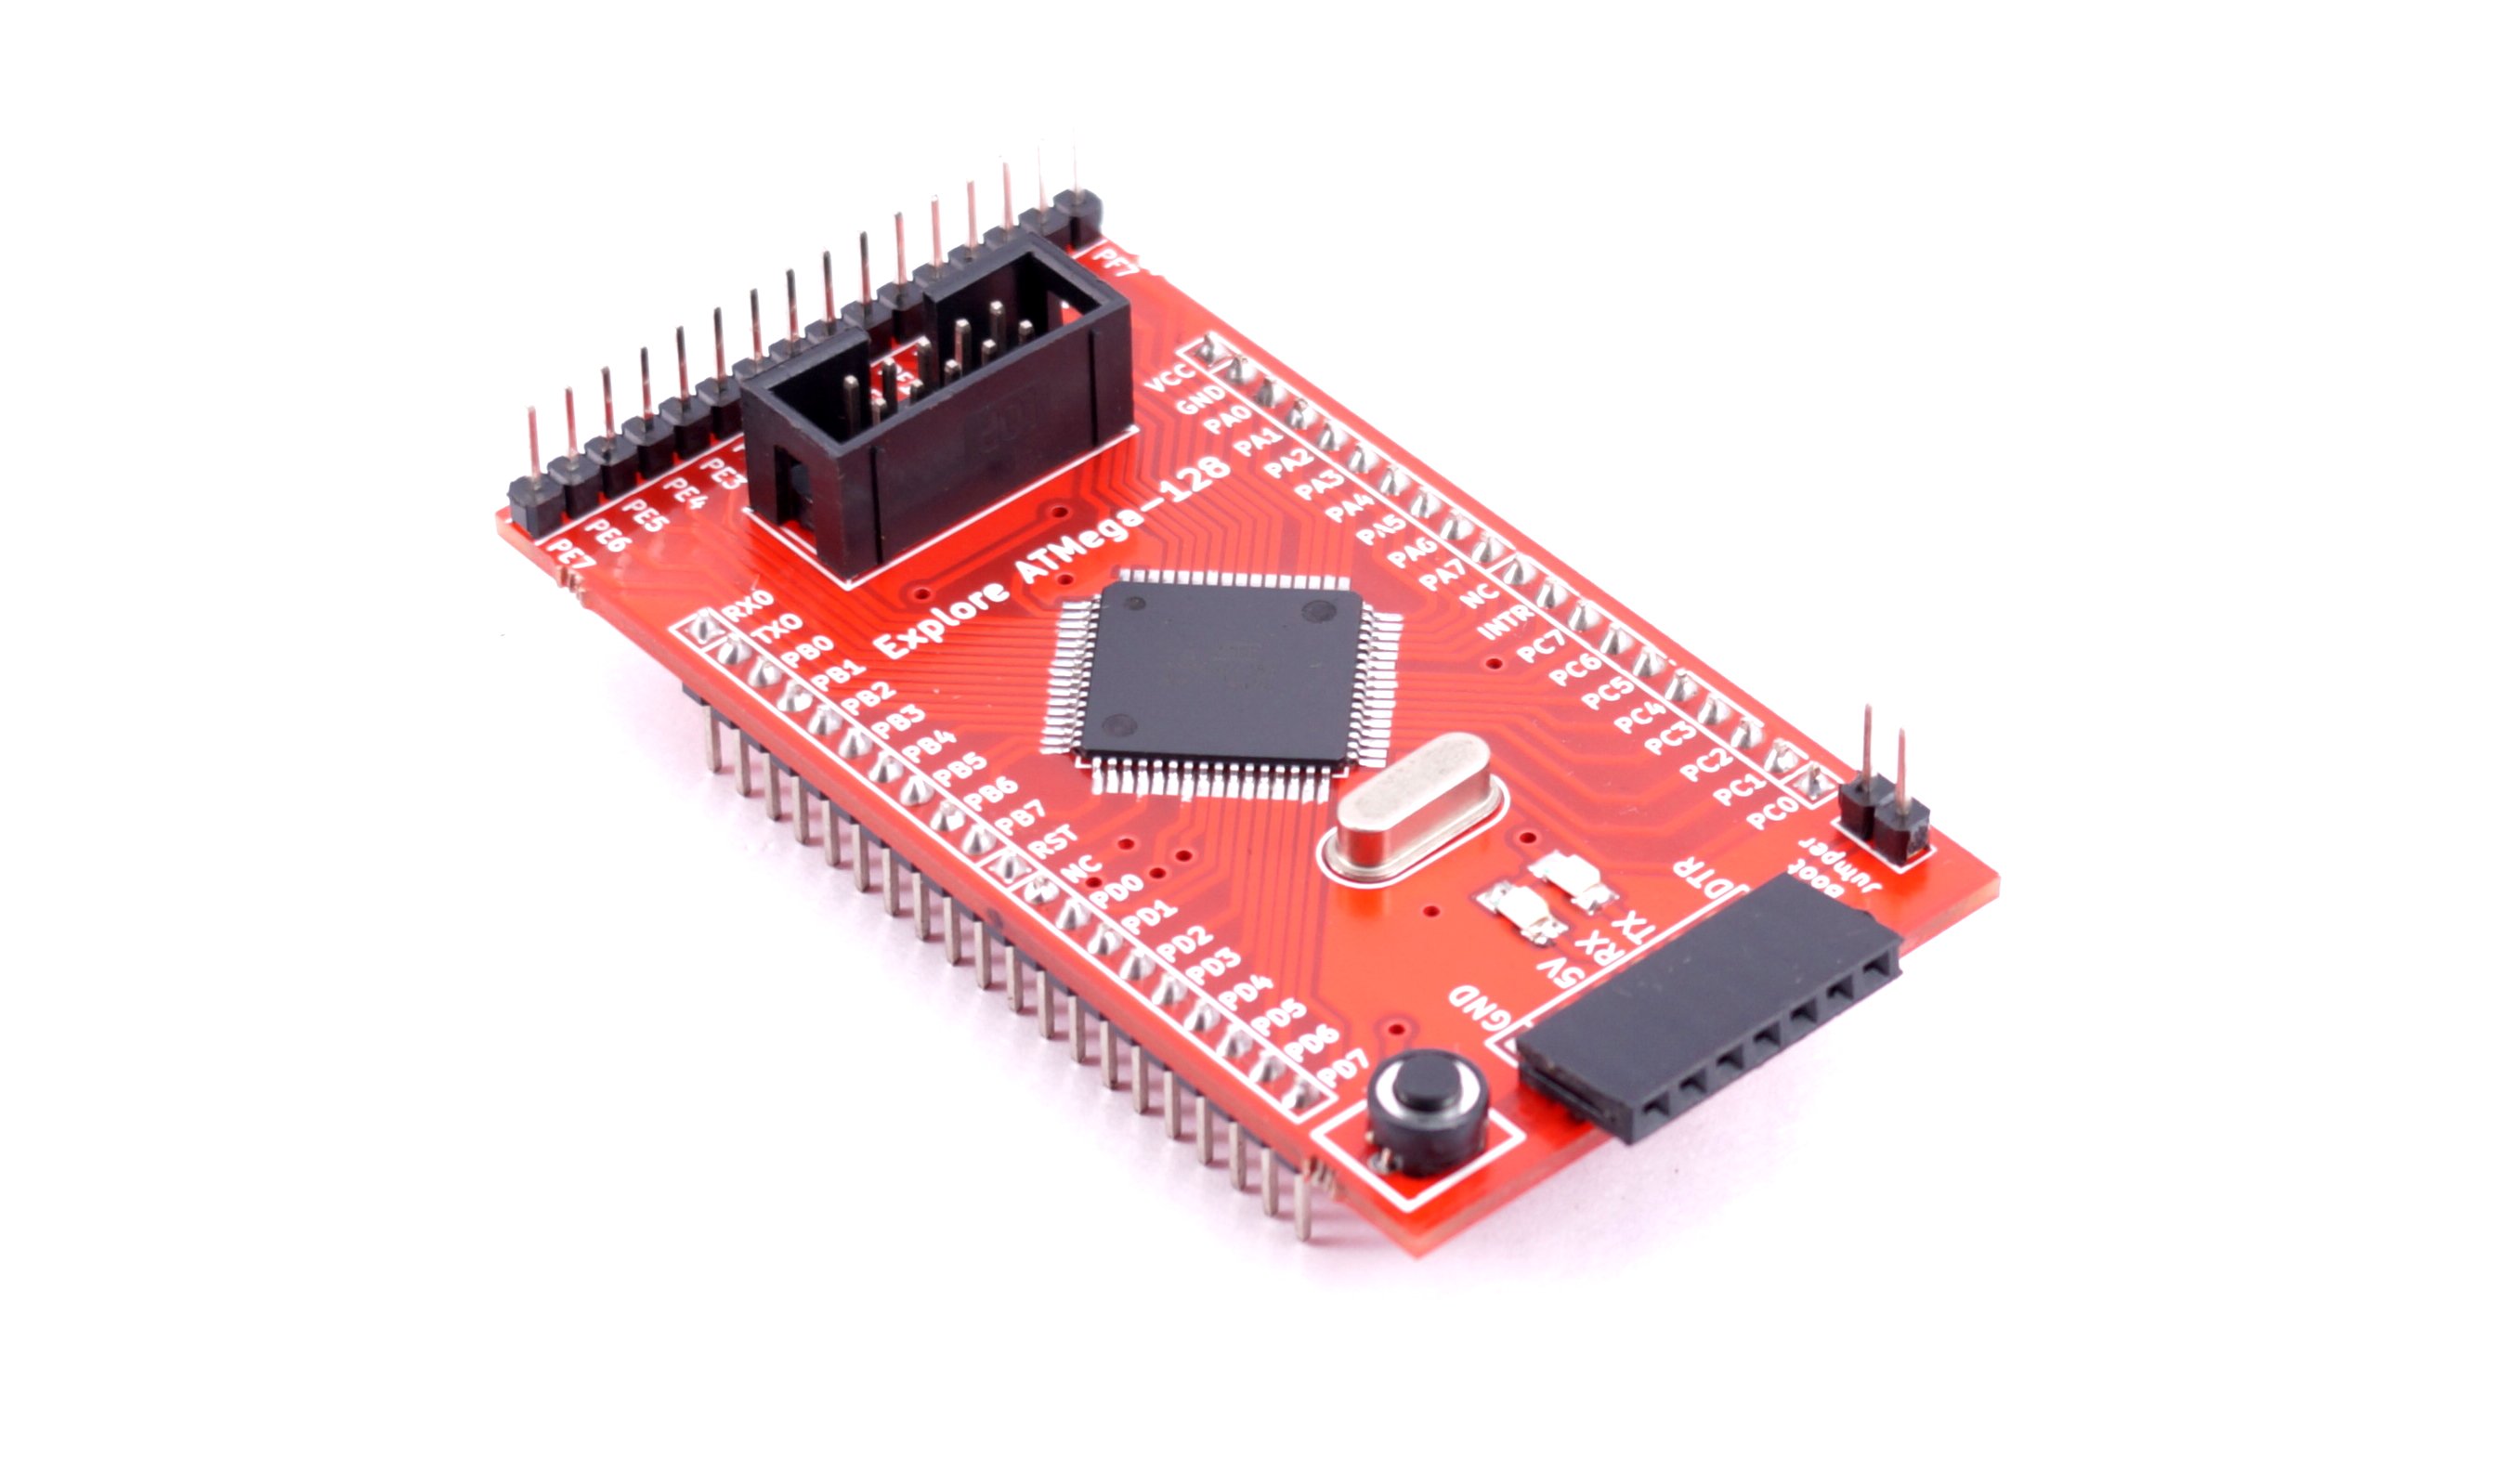
Setting up ATmega128 Breakout
In this tutorial we will look at the basic setup required to get started with Atmega128 Breakout. After completion of this basic setup we can interface peripherals with the breakout board. ...
Blinky with Atmega128 Breakout
In this tutorial we will get hands on with Atmega128 breakout board. Here we will interface simple LED with one of the port pins. For this tutorial we will require a breadboard, LED and resistor. ...
Switch and a LED with Atmega128 Breakout
Now we will control the LED depending on external input. In this tutorial we will interface a switch to one of the port pin and display its status on LED connected to other port. Basics...